

i was determined to make a banner for each holiday this year
[well, from Halloween on]
and last night at 1am when i realized Thanksgiving was only a day away i decided i better make a banner real quick, even if it's only up for a day or two.
[well, from Halloween on]
and last night at 1am when i realized Thanksgiving was only a day away i decided i better make a banner real quick, even if it's only up for a day or two.
this was the first time i ever used burlap so i was excited and nervous.
but i think it turned out rather well!
{if you don't look closely at the triangle edges or the ribbon sewn across...}
but i think it turned out rather well!
{if you don't look closely at the triangle edges or the ribbon sewn across...}
here's what you will need:

:: a yard of burlap [though i didn't use it al]
:: a rotary cutter & mat
:: scissors
:: stencils [i got mine in the school section of Joann's cause they were cheaper than in the paint section]
:: paint color of your choice
:: sponge brushes to blot the paint on
:: ribbon
:: pennant pattern [i had to make a new one after this pictures cause it was too small, ha]
{not pictured}
:: sewing machine
:: mod podge
steps:
1. trace your pennant pattern onto the burlap & cut out with the rotary cutter (what i found easier).
i used this tutorial to help me cut in straight lines and minimizing the risk of fraying.


2. once your pennants are all cut out, it's time to paint on the letters.
make sure you have something under the burlap since the paint will seep through.

gently blot the paint onto the burlap with the sponge brushes.

once you are done painting the letter on, gently lift the stencil off.
 |
| for some reason the paint looks light yellow but it's really a cream color. |
3. once the paint is dry, you can start to sew the ribbon on.
i chose to do a creamy white ribbon because i wanted to keep it simple & neutral.
but now i wish i chose a different color.
but now i wish i chose a different color.
i think eventually i will fix it with a different ribbon or fabric when i have more time.
to sew the ribbon, i first pinned it to the burlap pennants so that they would all be even.

i then just sewed across the ribbon i the middle with my sewing machine.

i originally meant to kind of fold the ribbon around the top edges like a sandwich
but i didn't have thick enough or long enough ribbon from my stashes.
and sine i am cheap & was doing this all last minute i didn't want to go out and buy more.
so like i said, i'll probably fix it a little next year or something.
but i didn't have thick enough or long enough ribbon from my stashes.
and sine i am cheap & was doing this all last minute i didn't want to go out and buy more.
so like i said, i'll probably fix it a little next year or something.
in the end it will look like this!
 |
| again i don't know why it's looking yellow.... camera phone problems i guess |
i'm pretty proud of being able to whip it up quickly before festivities tomorrow.
now we're able to have the reminder of the true meaning of Thanksgiving as we stuff our faces.
:)
:)
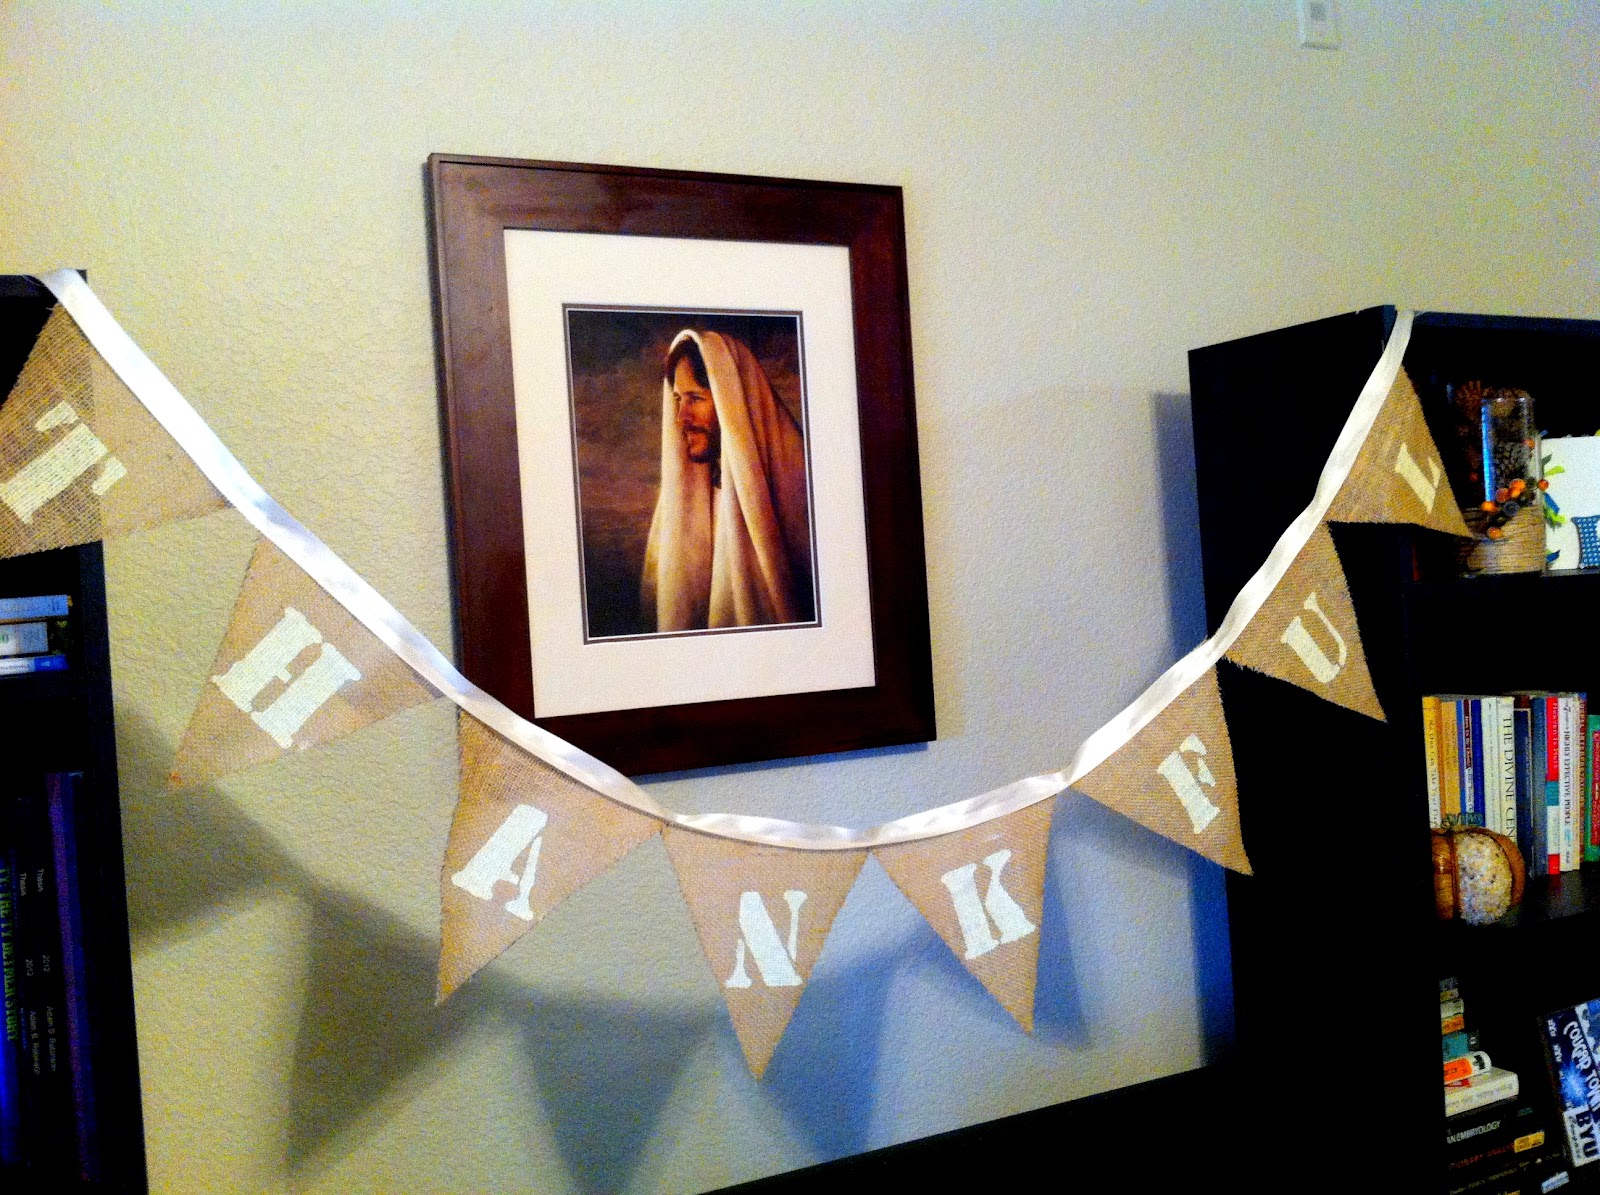
HAPPY THANKSGIVING (tomorrow)!!!
7 comments:
That's cute! And with the picture of Christ it's beautiful.
kianabates.blogspot.com
So cute! I love it!! :D Great job!
Cute! Love how simple it is! i'd love to have a nice fancy sewing machine for that ribbon -- but I'm a hot glue gun girl anyways! Thanks for the DIY inspiration!
Awwwww this is adorable!
I might have to make myself a banner for Christmas!
- Ididtellyou.blogspot.com
I loved this so much I shared a picture on my Facebook page
https://www.facebook.com/photo.php?fbid=500673573299729&set=a.279492708751151.74574.267457636621325&type=1&theater
This turned out so cute!! Way to go Megan!
Post a Comment